
Description
Professional In-Office Whitening with Whiteness HP 35% by FGM High Yield and Visual Control
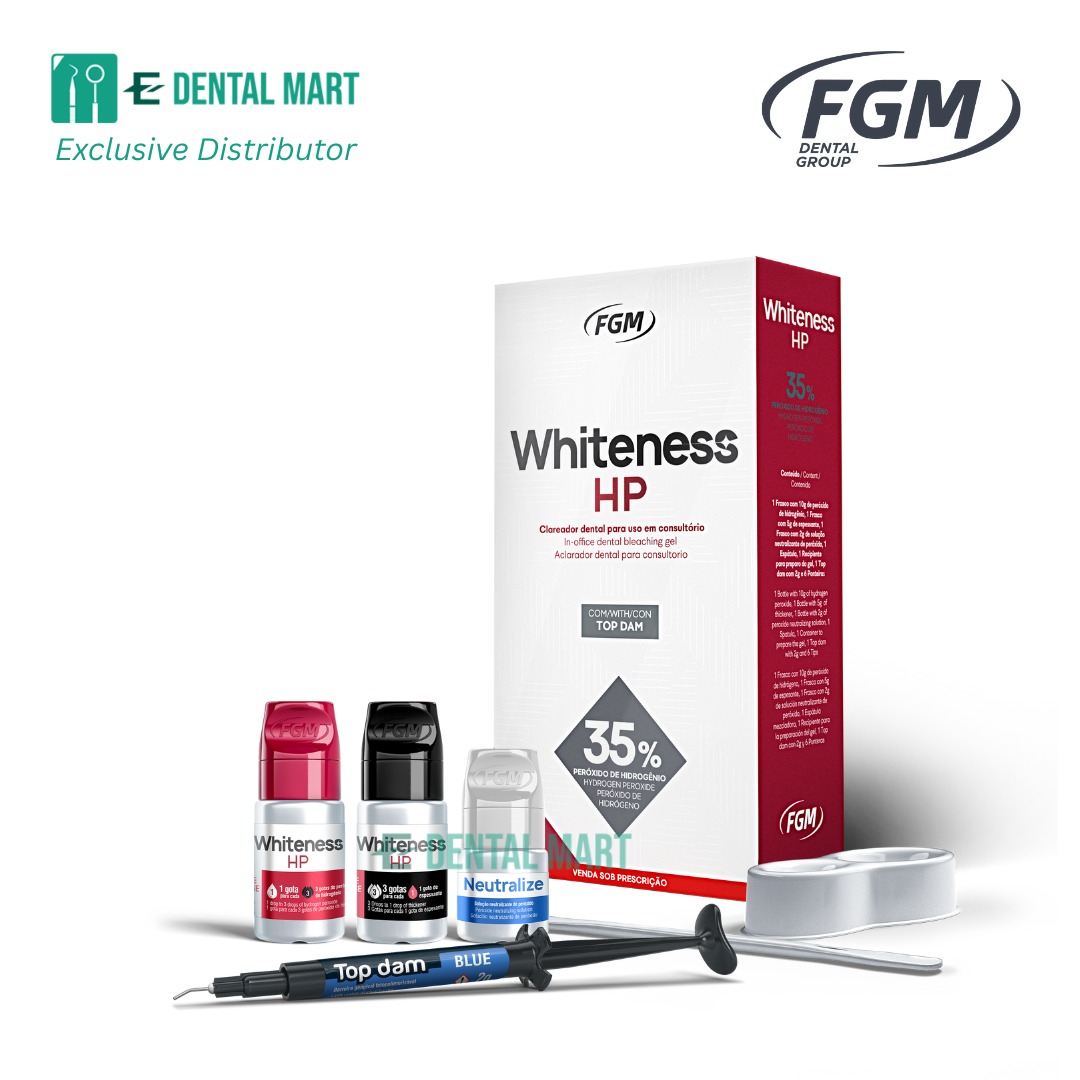
Whiteness HP by FGM is a professional in-office teeth whitening system formulated with 35% hydrogen peroxide for effective and controlled bleaching of vital and non-vital teeth. Designed for chair-side use, it delivers predictable whitening results with excellent handling and minimal material waste.
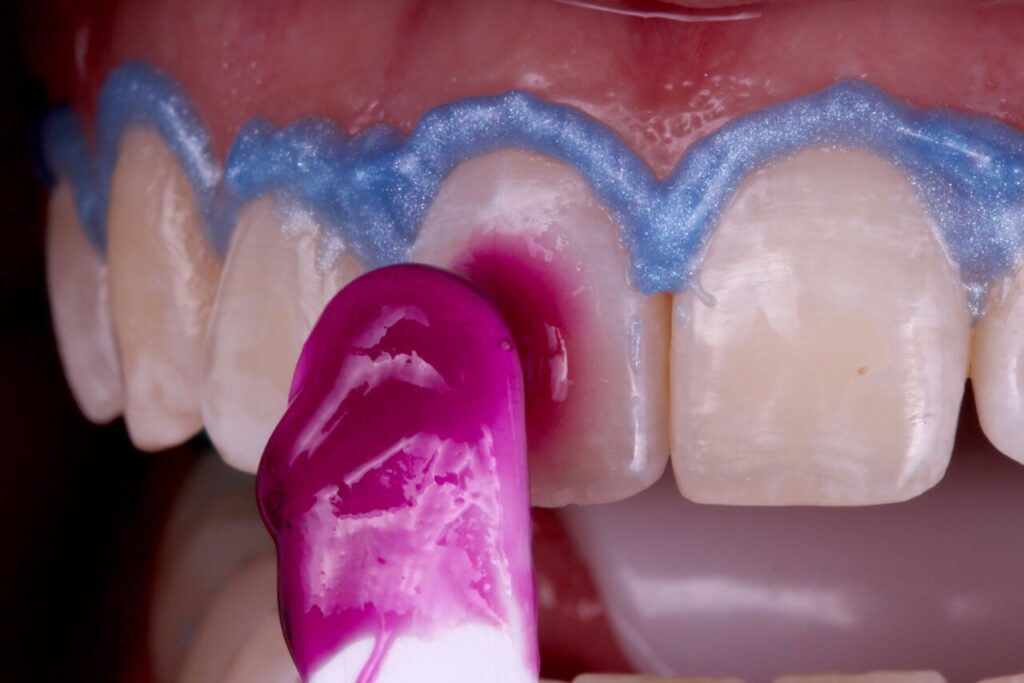
The two-phase system allows clinicians to prepare only the amount required for each case, making it suitable for single-tooth whitening or full-arch applications. Its intense carmine color enhances visibility during application and gradually becomes colorless, indicating the progression of the whitening process.
Key Clinical Advantages of Whiteness HP 35%
Whiteness HP offers excellent versatility and efficiency in professional whitening procedures. The bottle system ensures accurate dosing, while the high yield allows multiple applications from a single kit. The gel can be used with or without blue light activation, depending on clinical preference.
Key Benefits of Whiteness HP 35%
-
High-performance whitening with 35% hydrogen peroxide
-
Two-phase system allows precise gel preparation
-
Excellent yield with up to 18 applications per kit
-
Intense carmine color improves application control
-
Gel becomes colorless at the end of the whitening process
-
Can be used with or without light activation
-
Suitable for both vital and non-vital teeth
Clinical Recommendations
Whiteness HP FGM is indicated for:
-
In-office whitening of vital teeth
-
In-office whitening of non-vital teeth
-
Professional chair-side bleaching procedures
Application Guide Whiteness HP 35% (Step-by-Step)
Step 1
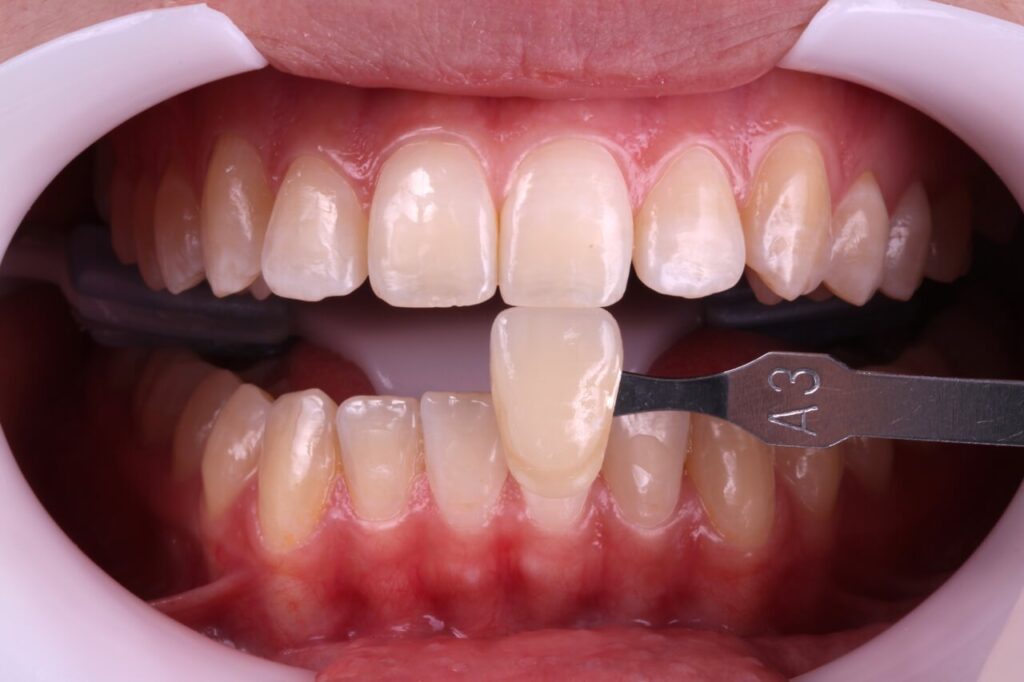
Perform dental prophylaxis to remove biofilm and debris from the tooth surfaces. Select and record the patient’s initial tooth shade using a shade guide or photograph.
Step 2
Insert the Arcflex (FGM) lip retractor to improve access to the buccal cavity. Apply Desensibilize KF 2% to the teeth to be whitened and leave it in place for 10 minutes.
Step 3
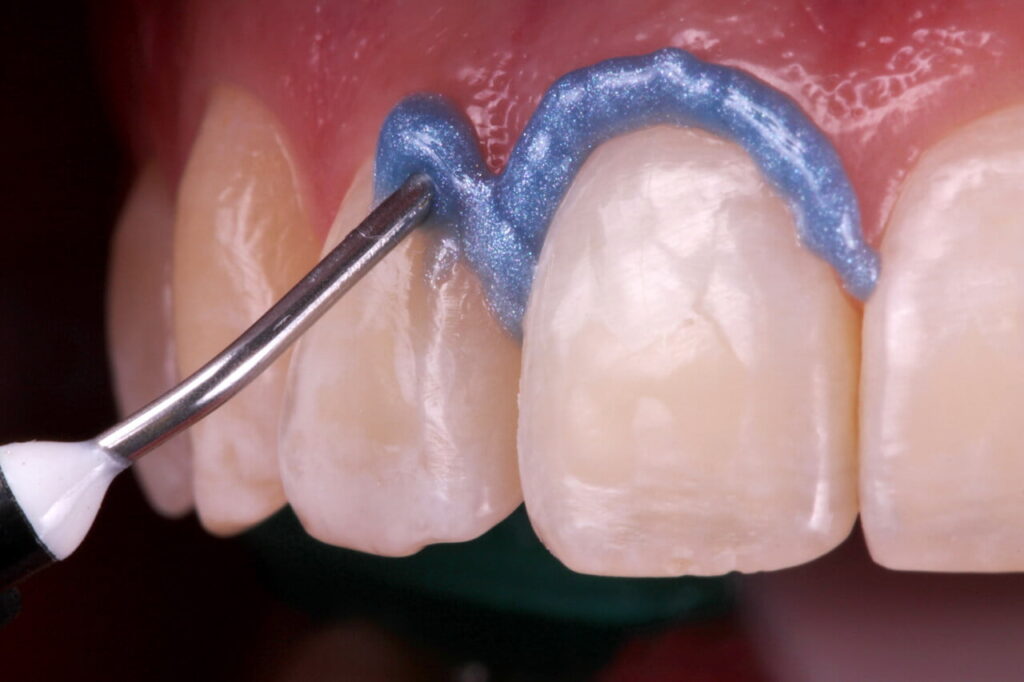
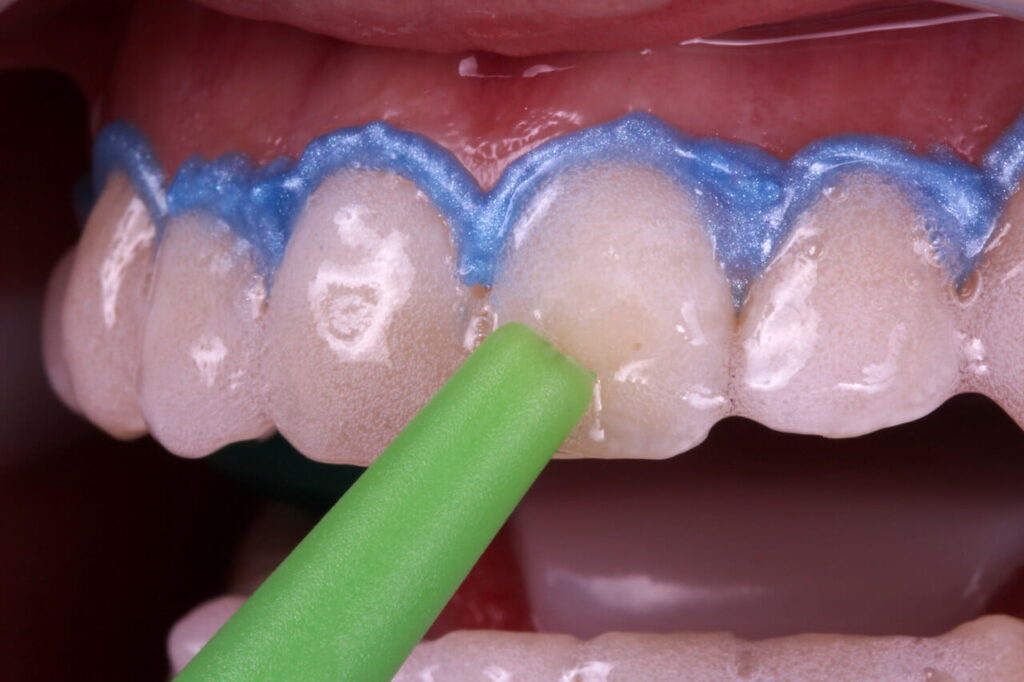
After desensitization, remove the gel and dry the teeth and gums with air jets. Perform relative isolation by applying the light-curing gingival barrier Top Dam (FGM).
Step 4
Prepare the whitening gel by mixing Phase 1 (peroxide) and Phase 2 (thickener) in a ratio of 3 drops of peroxide to 1 drop of thickener using the mixing plate provided.
-
One tooth: 3 drops peroxide + 1 drop thickener
-
Smile line (20 teeth): 18 drops peroxide + 6 drops thickener
Shake the thickener bottle thoroughly before use to ensure proper viscosity.

Step 5
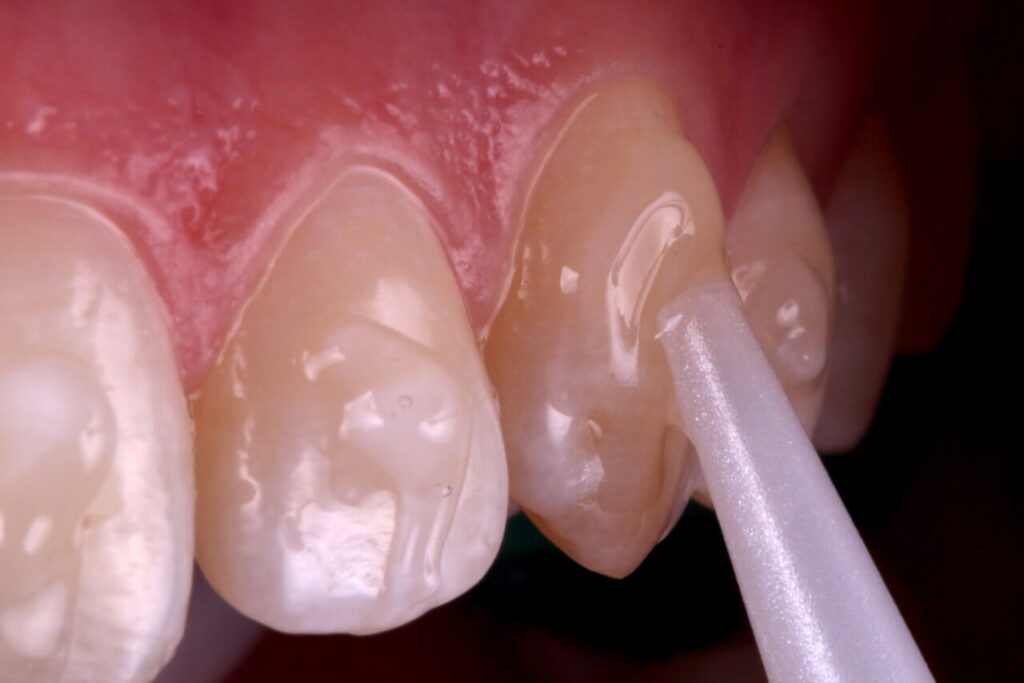
Apply a thin, even layer of the gel to the buccal surfaces of the teeth, usually from premolar to premolar. The gel may extend slightly onto the incisal or occlusal surfaces if needed.
After the recommended time, aspirate the gel with a fine suction cannula and wipe the teeth with gauze. If necessary, repeat the application up to two additional times in the same session, monitoring sensitivity throughout.
Step 6
At the end of the session, aspirate the gel thoroughly and rinse the teeth with water. Remove the gingival barrier using an explorer probe or similar instrument.


Reviews
There are no reviews yet.